
Potatoes are not only delicious, but they are also very useful. Potatoes provide just the right amount of nutrients and moisture to rose cuttings, allowing them to develop healthy roots. If you have a particular rose that you love and want a second or third for your landscape or want to give a great gift, consider propagating with a potato. This project is easy enough for the novice gardener and attractive to anyone who wants to save money on their garden budget. Although you can take rose cuttings any time of the year, you will have more success if you wait for cooler weather. Roses that are under patent cannot be legally propagated unless you pay a royalty to the patent holder.
1
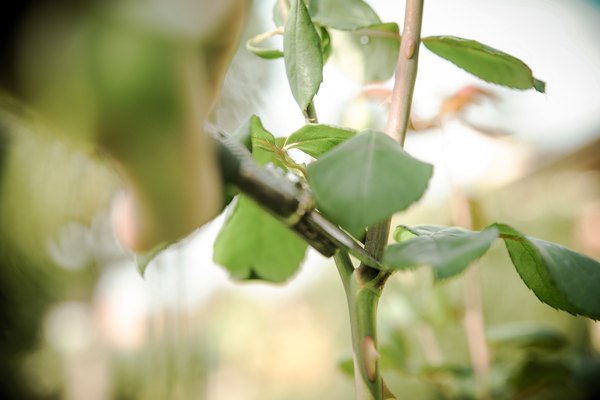
Cut an 8-inch tip piece of healthy rose bush at a 45-degree angle. Be sure to use clean pruning clippers. Use plant pieces immediately or place them in a plastic bag on ice if you are not going to use them immediately.

2
Snip off dead flower heads and hips down to the first set of healthy leaves.

3
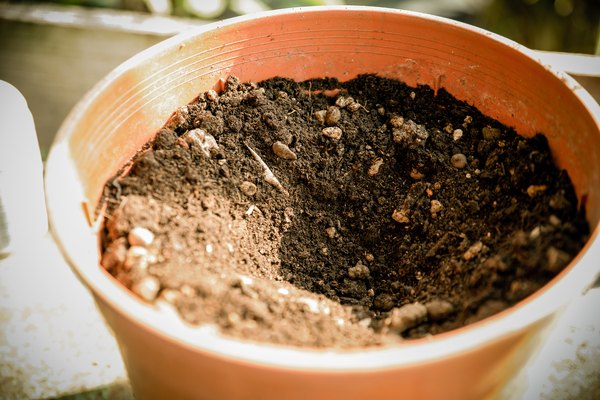
Fill a medium-size flower pot with high-quality potting medium. Moisten the soil slightly.

4
Create a 3-inch hole in a peeled Irish potato using a clean screwdriver that is the same diameter as your rose clipping.
5
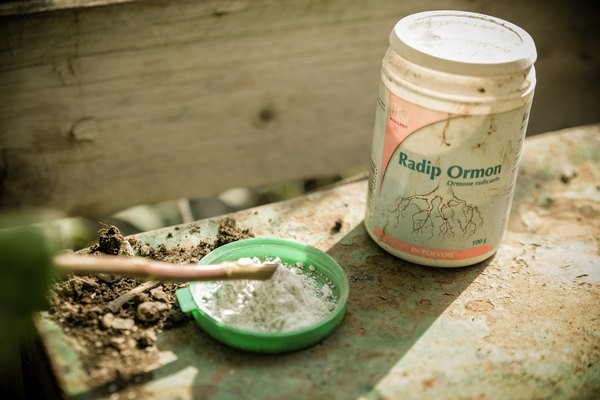
Brush some rooting compound on the cutting and shake off the excess. Place the cutting into the potato hole.
6
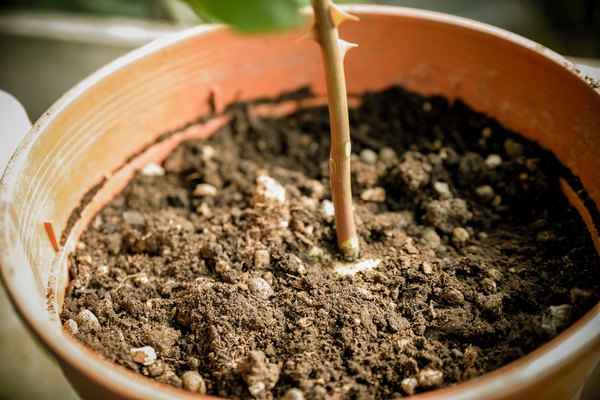
Make a hole in the potting medium for the potato with a clean spoon.
7
Place the potato into the hole, allowing only the cutting to be exposed.
8
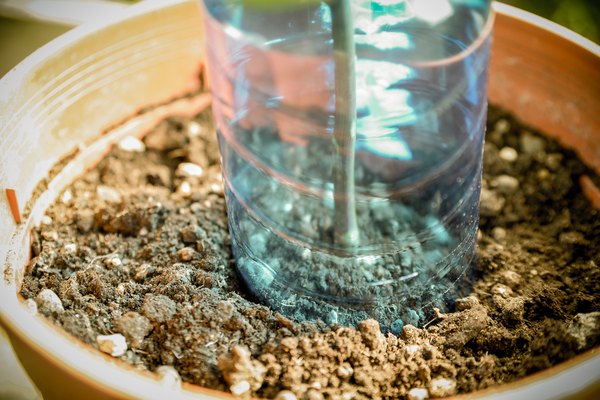
Cover the cutting with an empty and clean soda bottle to create a mini-greenhouse. Twist the bottle slightly to be sure that it is solid in the soil.
9
Place the pot in a warm and light location away from direct sunlight. Remove the bottle from the cutting for a few minutes daily to allow the cutting to breathe. Do not disturb the cutting until you see new growth forming. Keep the soil moist.

10
Pull lightly on the cutting and if you feel resistance, roots have developed.
11
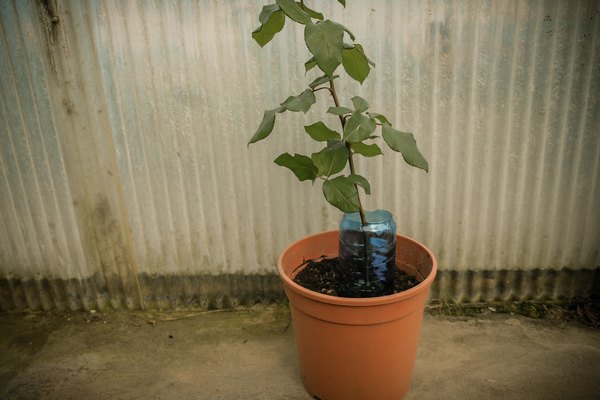
Relocate the pot, without the bottle, to a sunny location with more direct light and allow the cutting to grow until you will harden it off. Keep the soil moist.
12
Harden off the cutting, by gradually exposing it to outdoor temperatures, starting with a few hours each day in a sheltered location with plenty of light but no direct sun. Keep the soil moist.

13
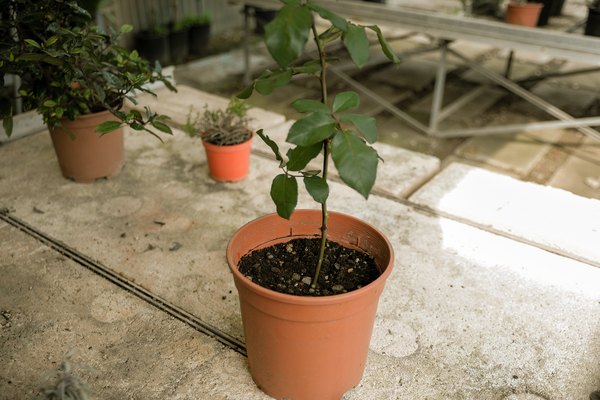
Transplant into the garden after one week of hardening.
No comments:
Post a Comment